Key Points for Measurement
Posture analysis is possible with just two photos—one from the front and one from the right side!


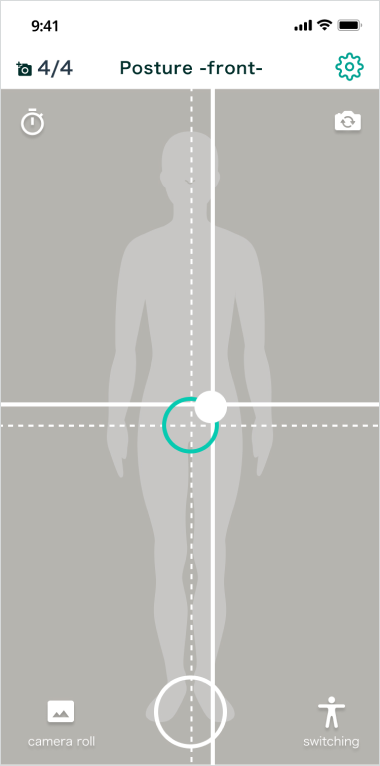
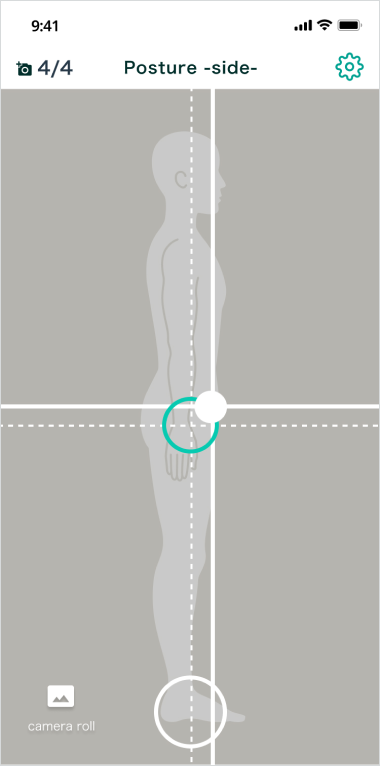
Make sure your entire body fits within the frame.
Aligning with the silhouette size on the camera screen is key!

Keep your device level and upright while taking the photo.
Just align the white ● with the ○ in the center of the screen!

Wear clothing that makes your feet and knees clearly visible.
Avoid taking photos while wearing skirts, long coats, or overly baggy pants.
Posture Analysis Evaluation Method
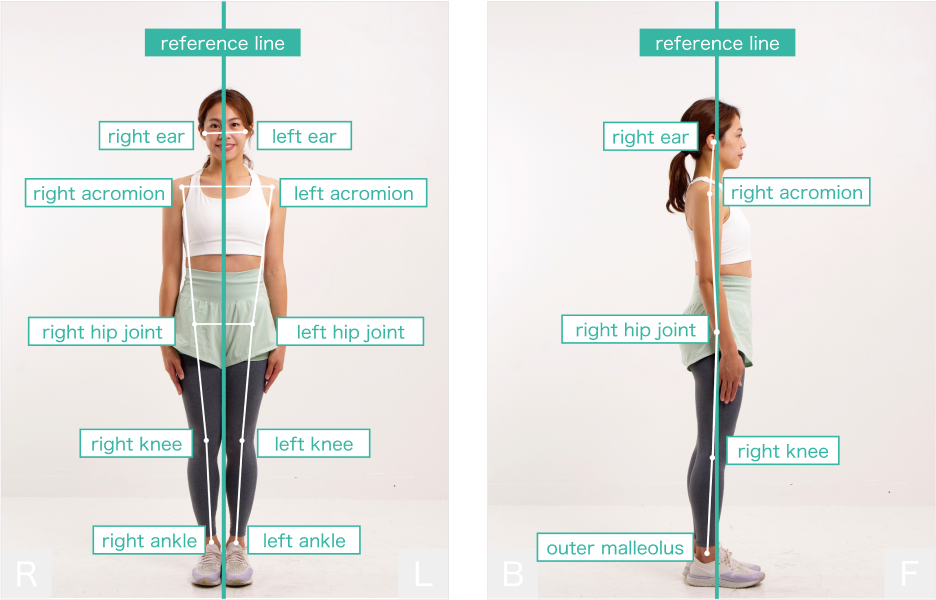
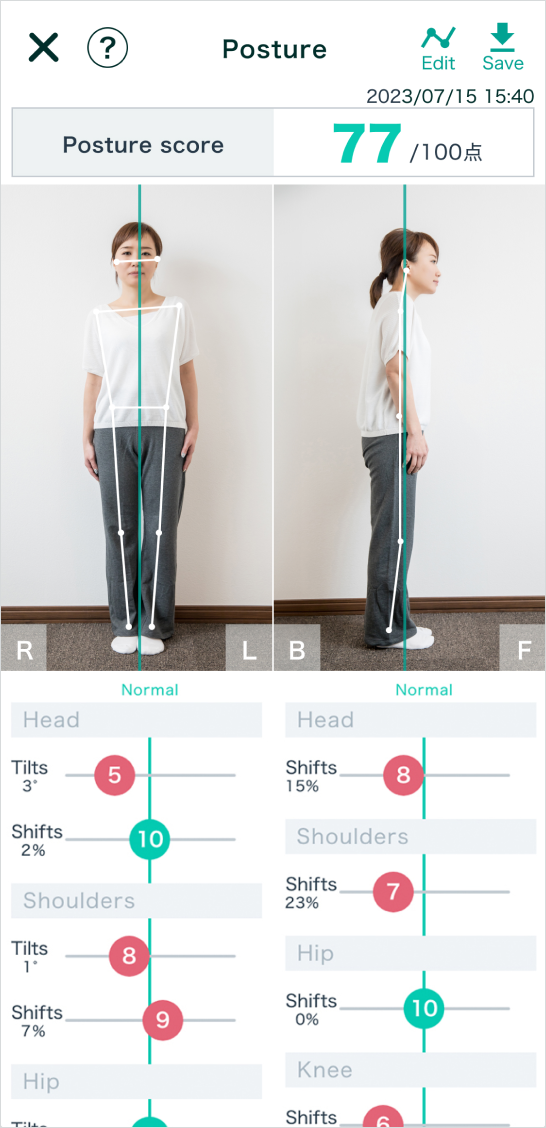
In BODY Alignment, the AI automatically detects key landmarks (primary bone indicators for posture assessment) and measures deviations from the reference line. Based on these deviations, it calculates a posture score that reflects the degree of misalignment.
●What is the Reference Line?
It’s a vertical line (green line) that represents ideal posture.
In the front view, it’s centered between the landmarks of both ankles, and in the right side view, it’s set 2 cm in front of the lateral malleolus.


Front View Posture Evaluation
【Shifts】
Displays the percentage of how much the center, connecting the left and right landmarks, deviates laterally from the reference line.
【Tilt】
Indicates the tilt angle of the line connecting the left and right landmarks.
Right Side View Posture Evaluation
【Shifts】
Shows the percentage of how much each landmark deviates forward or backward from the reference line.
Center of Gravity
Displays the center of mass for the upper and lower body as the body’s center of gravity.
※【About Deviation Percentage】
The percentage displayed for lateral deviation in the front view and forward/backward deviation in the right side view is calculated based on a specific part of the body. As a reference, a 100% deviation from the reference line indicates a misalignment of approximately 8 cm or more.


